Making your own artwork doesn’t just keep you busy, it gives you a sense of pride with each passing glance of it. So does watching your plants grow. Now, imagine how good you’d feel if you mixed these two, making your own hypertufa pot, and growing some plants in it? Follow these easy steps!
Creative Inspiration for a
Mini Garden Feature
If you are one who loves creative projects, nature and plants, look no further. This step-by-step guide is just for you! Learn how to make your own hypertufa pot from scratch. It will feed your love for arts and crafts while tapping in to your love of nature.
What You’ll Need:
Cement
Perlite
Peat
Water
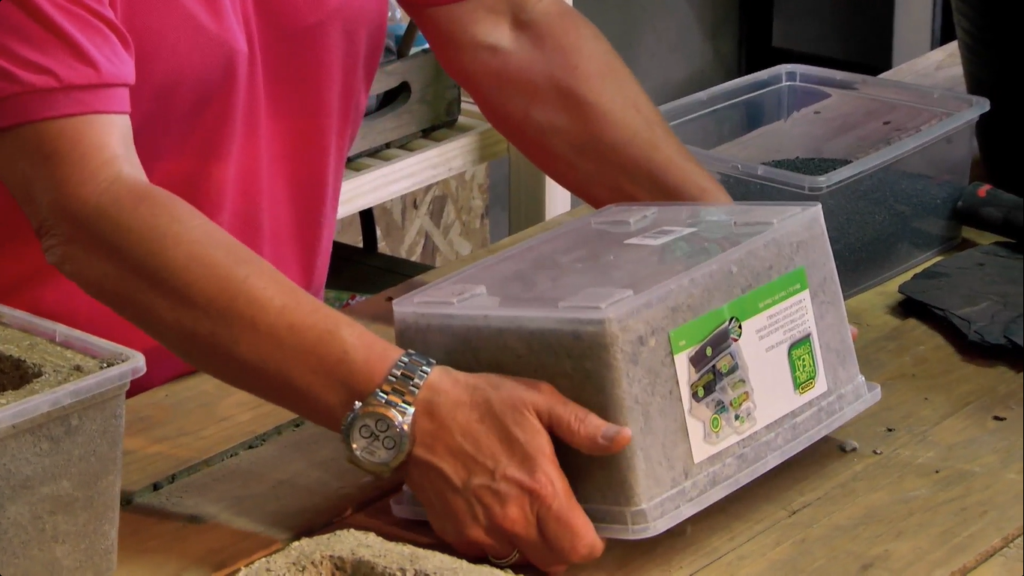
Rectangular plastic container
Release oil or cooking oil
Craft store leaves or flowers (optional)
Ordinary potting soil
Plants (succulents, herbs, bonsais, or others)
Instructions:
Step 1:
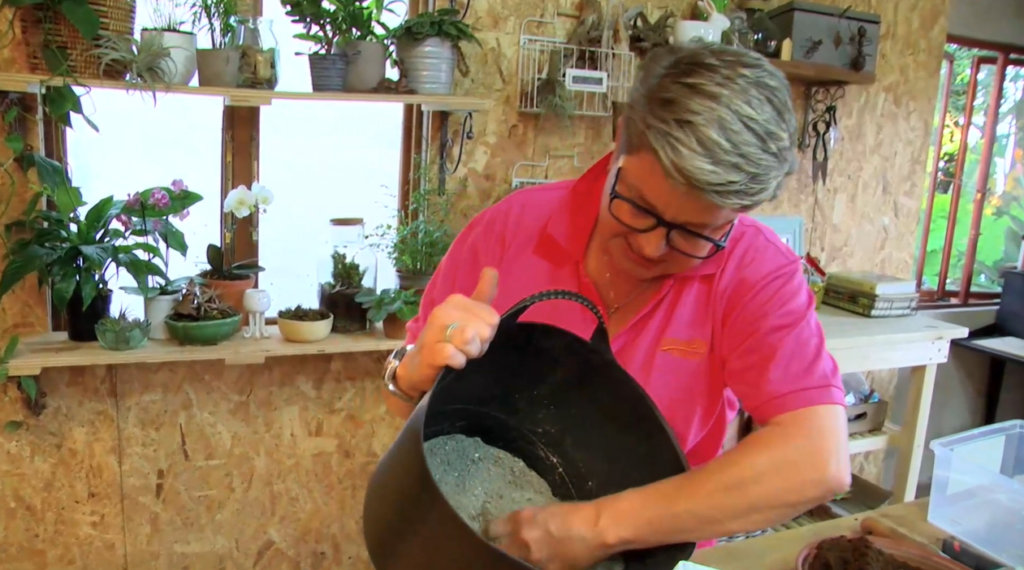
All you need are three things: cement, perlite, and peat in equal parts.
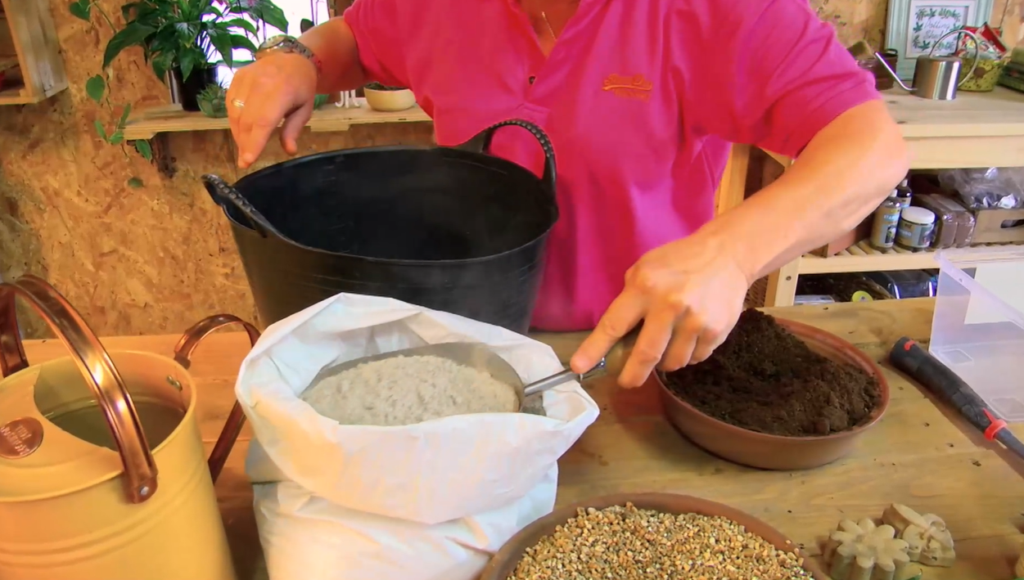
Step 2:
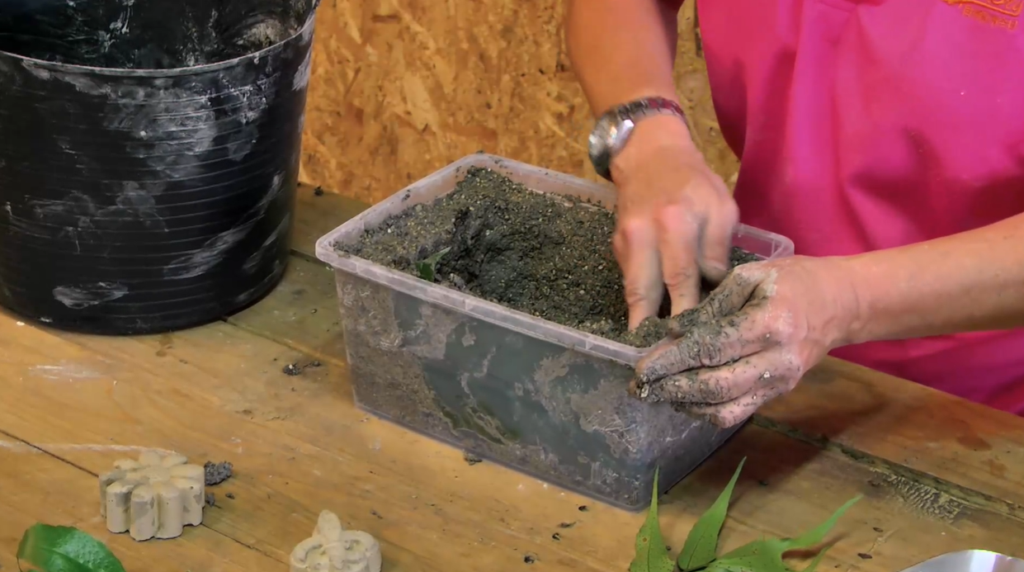
Dump one portion of those ingredients into your trug and mix it all together until you cannot see the individual components.
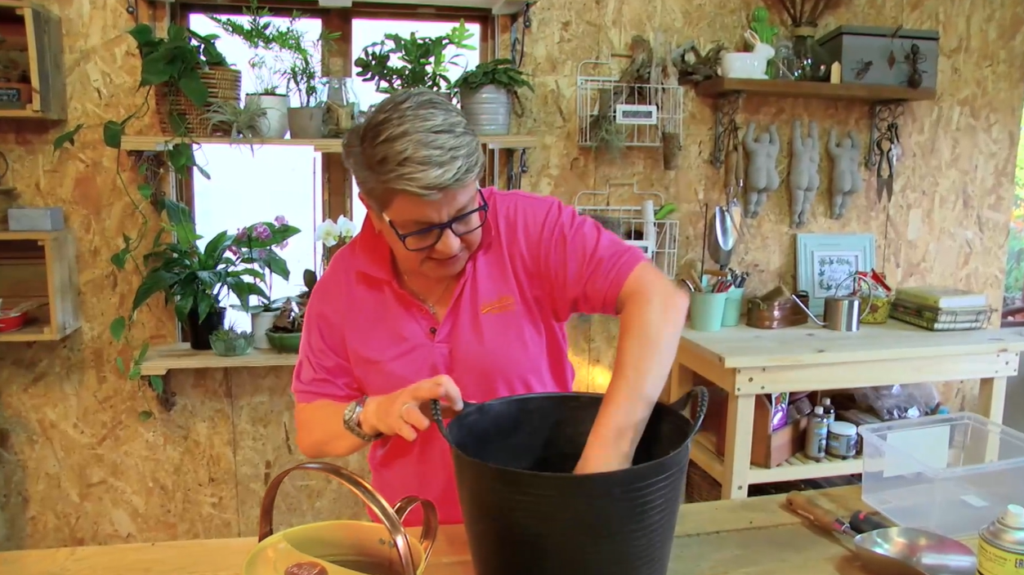
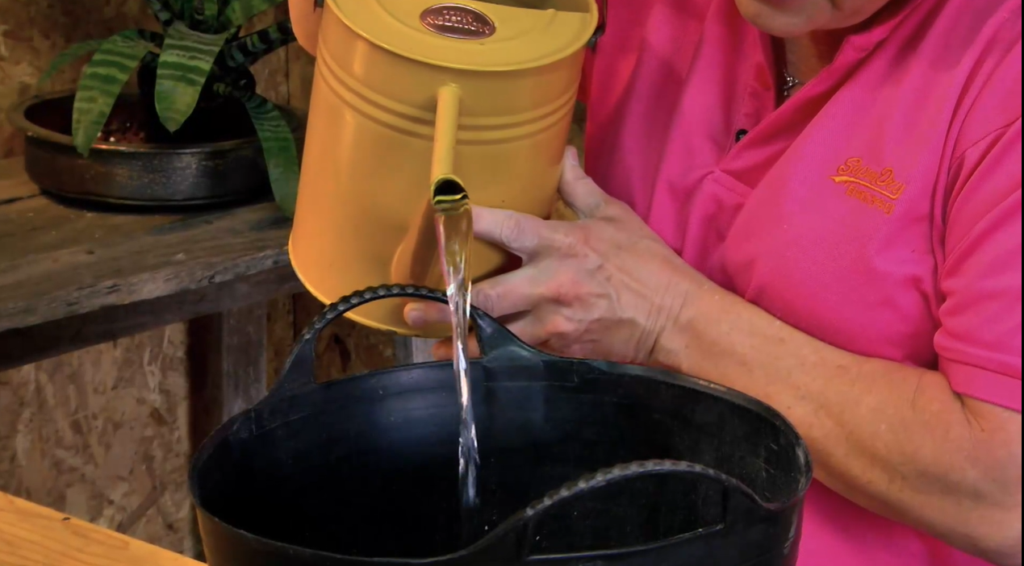
Step 3:
Make a small well in the center of the mix and add small amounts of water into the well. Don’t drown the mix. Aim for a consistency that lets you shape a ball, not too dry, not too sloppy.
Step 4:
Grab your rectangular plastic container and spray it with release oil (cooking oil works too), and line the inside of the container. Begin with the base, placing the mix and firming it down, and build those walls around it. For added texture, grab some leaves or flowers from the craft store. Press them against the outside of the walls as you pack, leaving an imprint of nature on your pot. Make sure that the thickness of the mold remains consistent on all 4 sides. The secret lies in taking your time.
Step 5:
Pierce a couple of holes in the bottom for drainage, then let your creation dry in the sun for 48 hours. When dry, gently flip your pot over. It should now be ready for potting.
Step 6:
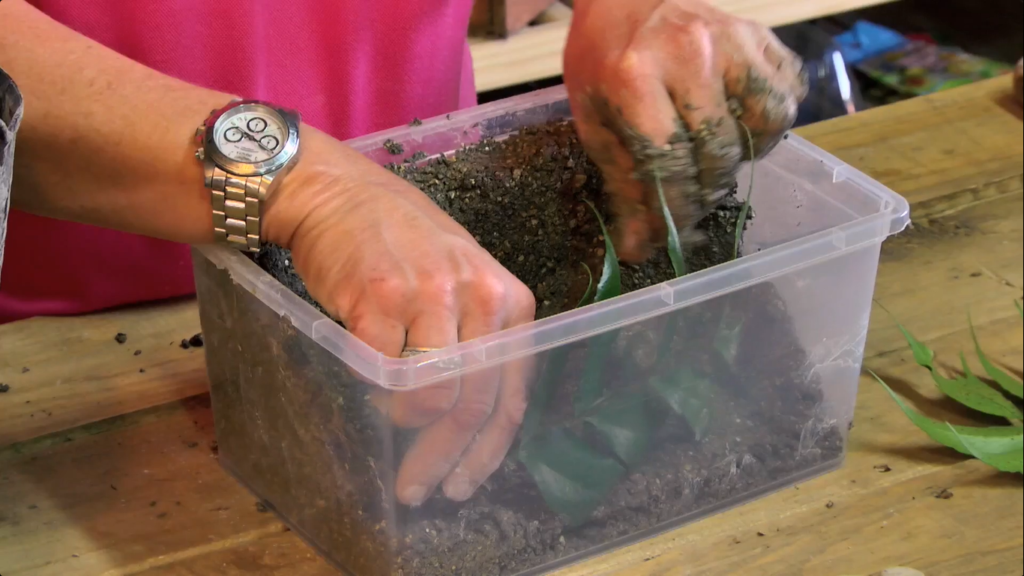
Grab your ordinary potting soil and an assortment of plants. Succulents, herbs, bonsais and let your imagination run wild.
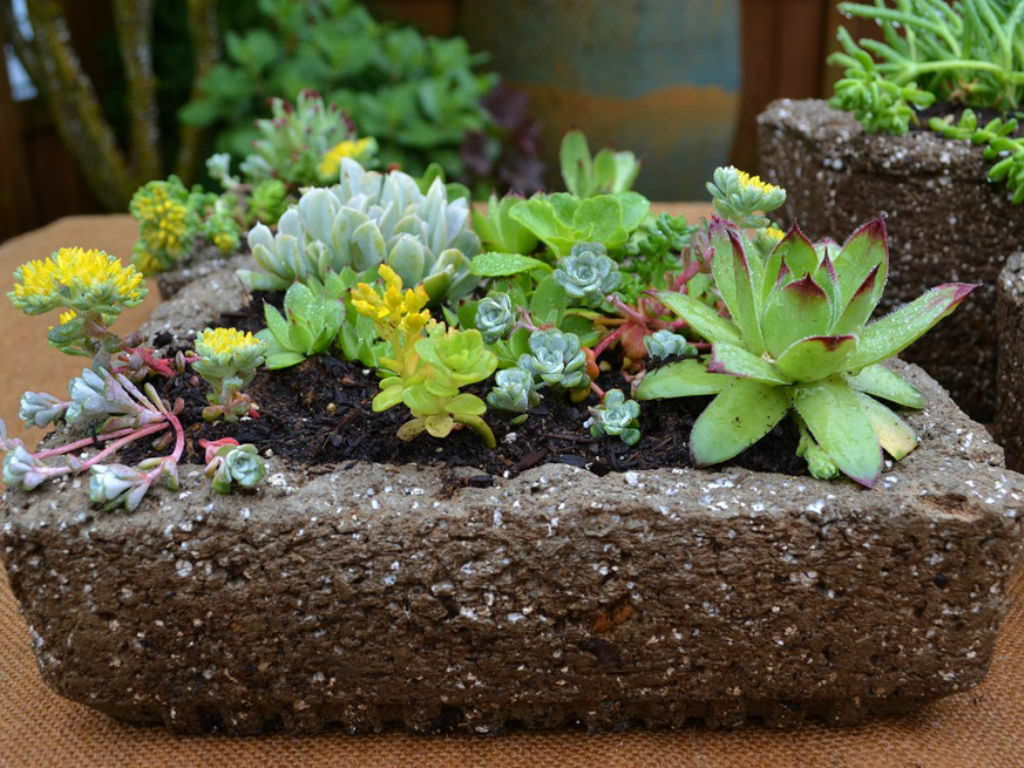
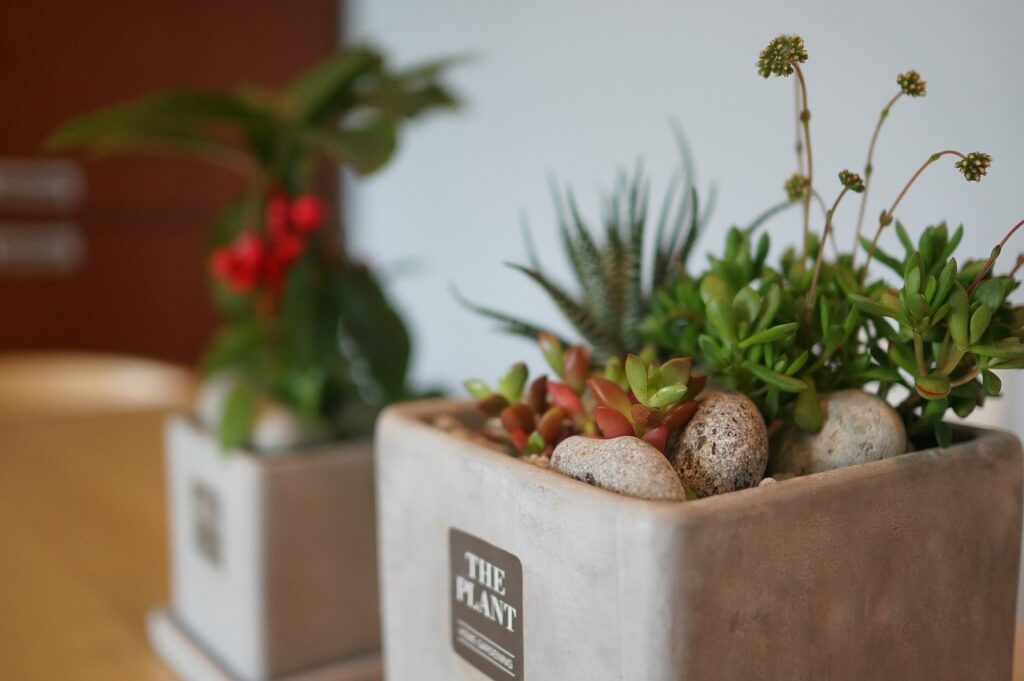
So, there you have it! In just a few steps, you’ve created unique pots that you can use indoors, as well as outdoors.